Methods for processing photographs – tips from a photo school

It’s not always possible to create the perfect photo the first time. Even if you have the perfect camera, it is not a fact that the image will turn out the way you expected it to be. That’s why you’ll need basic photography skills. Of course, you can turn to a professional designer, but he doesn’t always have time for this.
There are many ways to process a photograph. To do this, you will need to learn the basics of correction, retouching, creating a composition and combining different color shades of the palette. To learn how photographers process photos, you should read the information below.
Why edit photos?
There are many different styles and ways to quickly edit photos. These styles are needed for the following purposes:
- Processing frames in order to create a single story in one style direction. Such photographs can be used for albums or special editions in magazines. They look uniform and create the impression of a single whole.
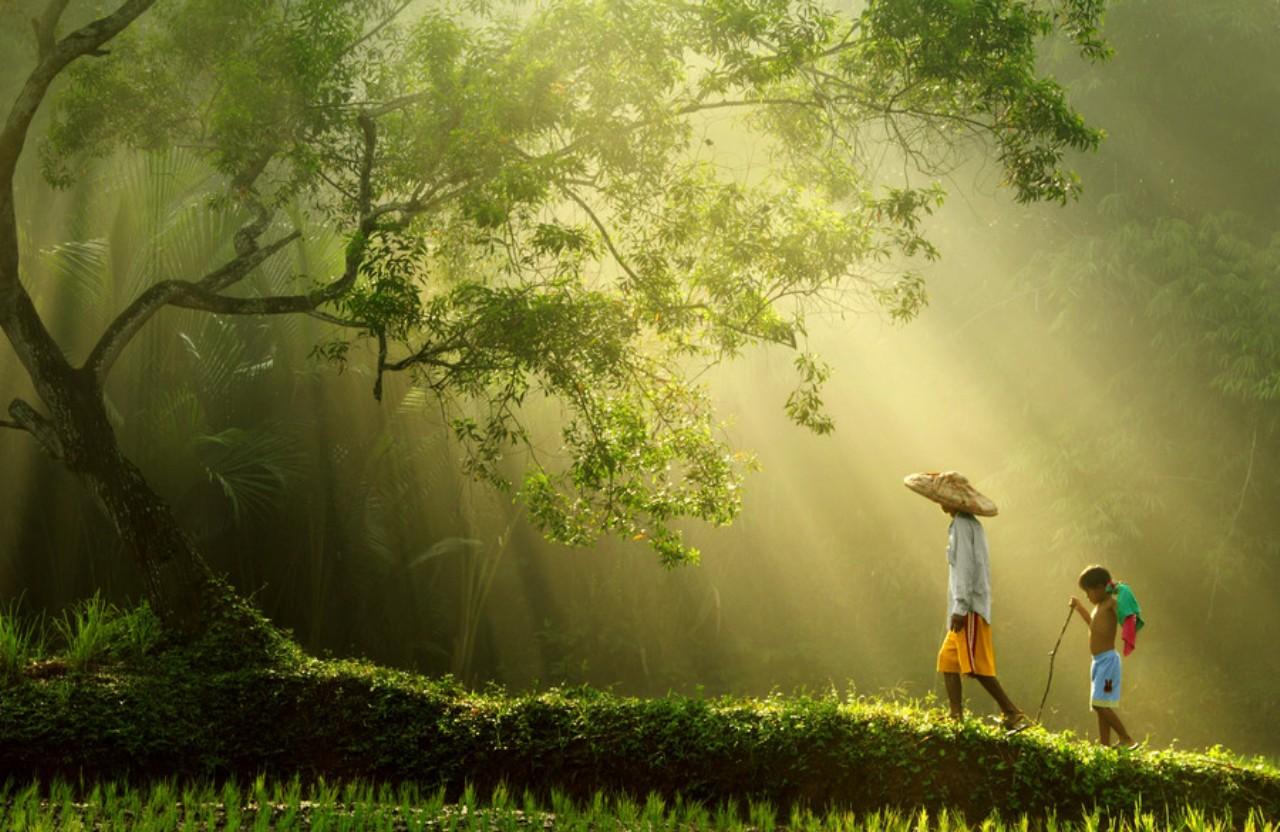
- The ability to evoke certain emotions in the audience. For example, warm shades evoke a feeling of homely warmth and comfort, causing tenderness. Cold tones suggest something dramatic and sad.
- Image adjustment allows you to correct the color scheme if errors were made during the creation of the photo. For example, you can change the temperature of the image, set a certain dynamics, or highlight a specific area.
- Specific processing of photographs allows you to create an author’s style that will be recognizable in certain circles.
Processing a photograph allows you to create a complete image of what the photographer wanted to say or reproduce the model. If you are interested in this topic, then if you wish, you can find out more in the photo school http://kazan. videoforme. ru/photoschool graphic editors make it possible to place accents, change lighting, set a certain tone, but not completely change the image. Therefore, it is also important to pay attention to creating a high-quality photo.

Ideal styles
The most popular photo design styles:
- Glamorous. In such photos, everything that gets into the frame should look perfect. Everyone has seen such pictures in their life – they are everywhere. They can be found in advertising signs, fashion magazines, and shop windows. The origins of this decision lie in the middle of the last century. Back then, models dressed up in dresses with a luxurious neckline, put on high-heeled shoes, and wore bright makeup. Now this style has spread not only for photos of girls. You can find many advertising posters with various products.
- High and Low Key. These styles are used to create specific lighting. The first of them is intended for light and sensual shots. These photographs must be taken in light colors. The second option implies a predominance of dark colors. Only one detail is emphasized by light, everything else is drowned in darkness.
- Vintage. Characterized by a slight nostalgia for old times. To create this style, effects are used that were previously popular on film cameras. Processing a photo in this way creates an antique effect, as if the photo was taken many years ago. There are many different filters in editors that are actively used in everyday practice.
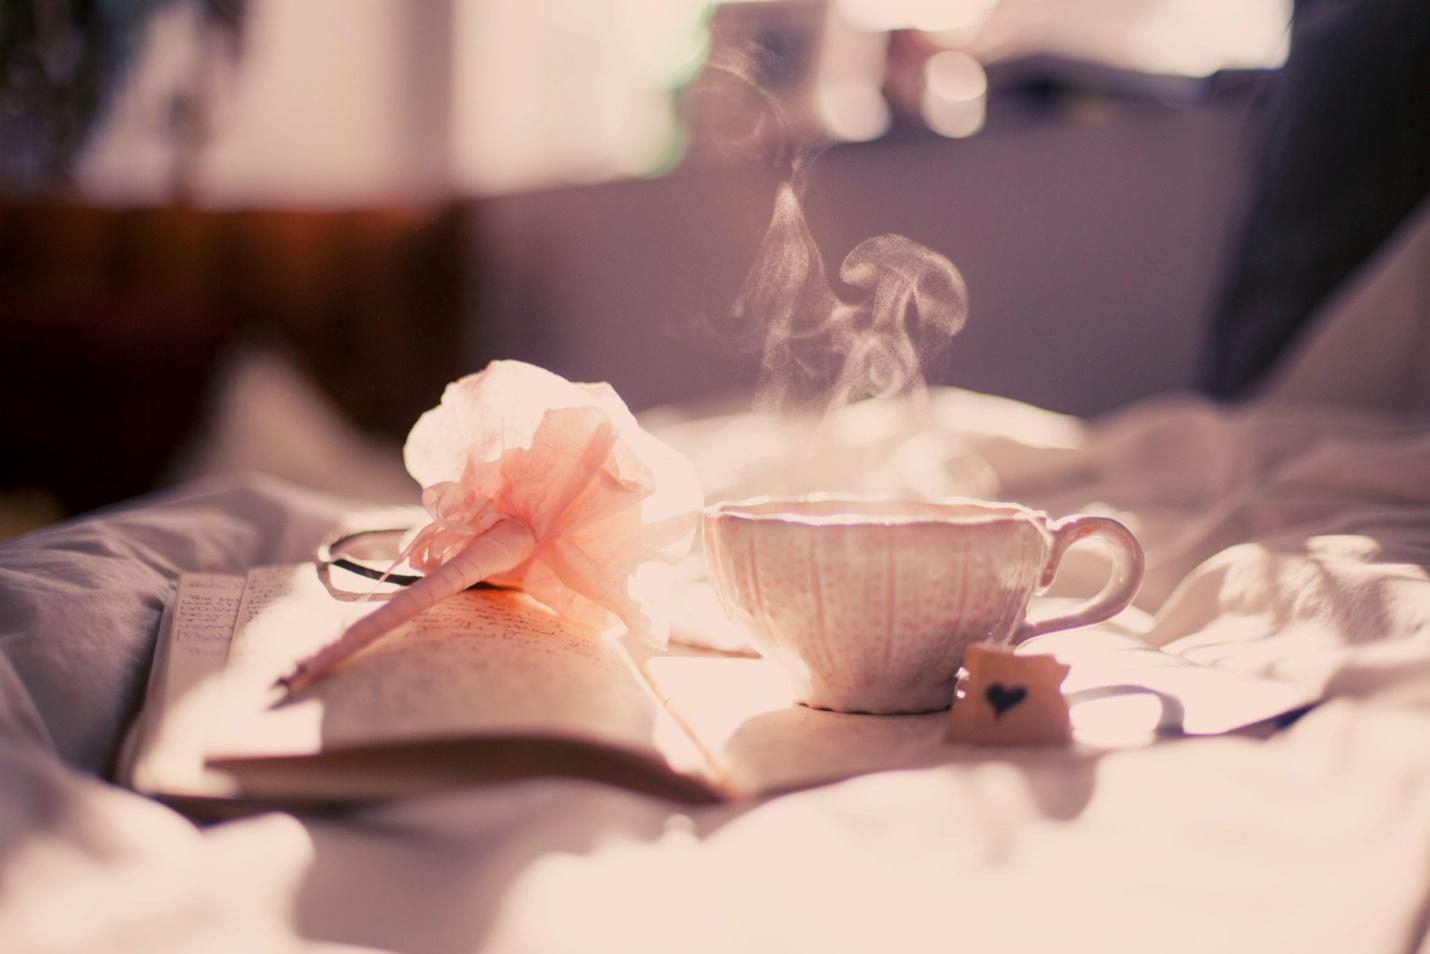
- Vanilla. Style close to vintage. Designed to create delicate photographs. All colors are made softer and muted. Shades of pink and purple are commonly used.
- Lomography. This style allows you to display reality as it is. It seems as if the pictures were taken with an amateur camera. The effect is created as if it were a photo without additional effects. A specific moment in time is recorded without decoration. The main thing is to display the frame dynamically.
- HDR. A technology whose peculiarity is the use of a bright color range. Here you can display all sorts of colors recorded at different points in time. The result is the most complete and rich image. This technology allows you to combine several images with the same composition, captured at different points in time. It looks juicy and original.
- Art. This style is designed to create images from the author’s point of view. Subjective reality is displayed. Various unusual effects are used. Such photographs resemble entire works of art, like painted paintings.
9 Simple Photo Editing Techniques
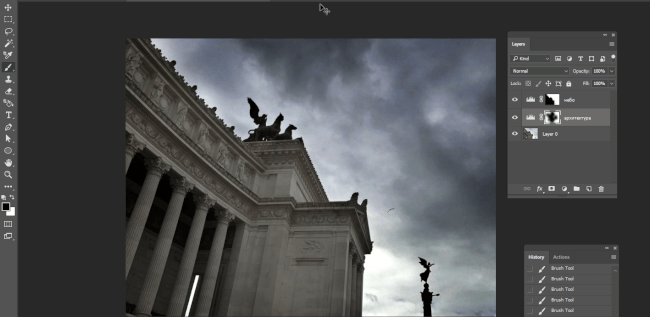
Let’s try to figure out how to edit a photo on your phone using Photoshop. A few simple techniques will help you create real masterpieces:
- Perspective and horizon. Allows you to create a frame of the desired size while maintaining proportions. To do this, just pull the corner of the image in the working window. After selecting the desired size, the result is recorded and saved.
- Contrast. You need to open a tab with layer levels in the image. The panel is responsible for choosing the color and lighting of certain areas of the picture. Choose the best option. Highlight certain tones and darken the shades where the shadows fall.
- Brightness and saturation. Here you can experiment with filters and choose the appropriate option. This allows you to make the photo brighter and more saturated, or darken it.
- Definition. If your photo is blurry, you can adjust the clarity settings using the smart tool. It will allow you to quickly remove noise and adjust image sharpness.
- Color. Using special filters, the atmosphere of the image will resemble a still from a movie.
- Batch processing. You can use separate packages with a set of ready-made solutions. This allows you to process photos faster.
- Changing proportions. To do this, just use a special tool and specify the required value.
- Retouch. To remove unnecessary objects from a photo, you will need several sets of brushes. Just carefully wipe off any excess ingredients.
- Black and white photo. To do this, just use a filter from installed packages.
To take a beautiful photo, it is enough to master Photoshop at a basic level. Then you can create real masterpieces right at home.